
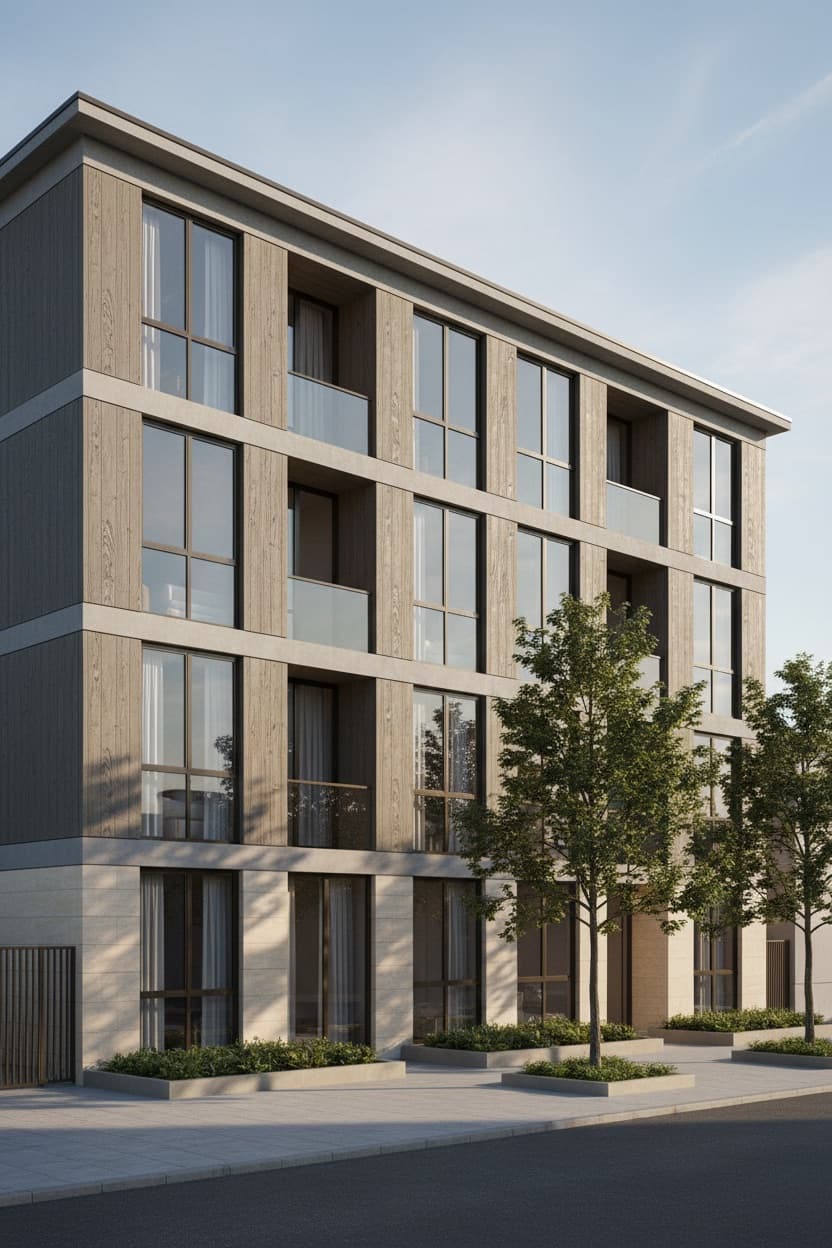
Building Photo to Architectural 3D Model
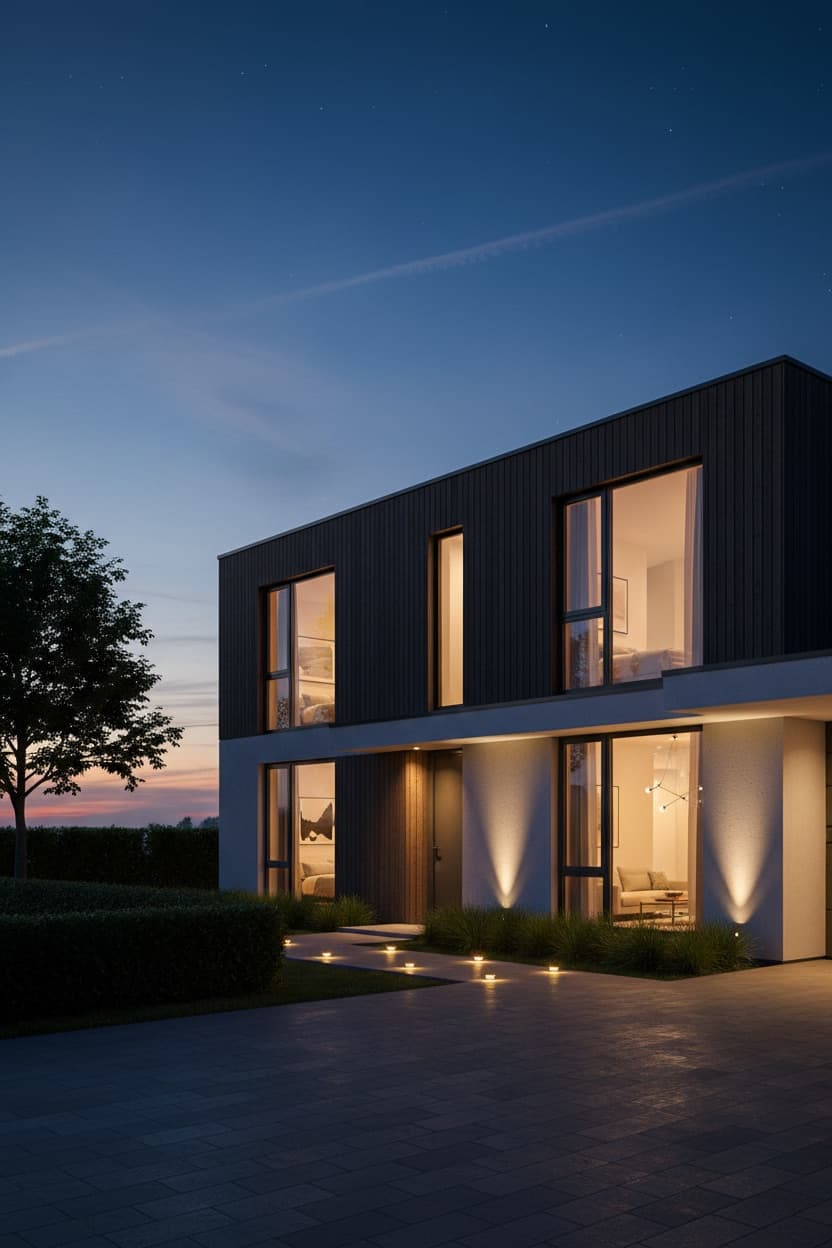
Turn a photo of any building into correctly-named, editable Blender geometry, then render it — a real 3D model, not a picture.
imageadvancedArchitectural Rendering
# Prompt Template
You are working as a 3D modelling agent with Blender open. Using the uploaded photograph of a building, reconstruct the building as editable 3D geometry and produce a presentation render.
STEP 1 — Read the reference. Before modelling, state back what you measure from the photo: number of storeys, approximate floor-to-floor height, roof form, window grid and spacing, and the primary facade materials. Work in real-world metric units. If the photo is a three-quarter view, infer the hidden elevations symmetrically and say that you are inferring them.
STEP 2 — Build. Model the whole building including the visible portion of its site. Geometry fidelity is the hard constraint: preserve the proportions, storey heights, window positions and roof pitch visible in the photograph. Do NOT redesign, restyle, beautify or 'improve' the building. If a detail is not visible, keep it simple rather than inventing ornament.
STEP 3 — Keep it editable. Every element below must be a separate, named object — not merged into one mesh: Walls, Roof, Glazing, Window_Frames, Doors, Balconies, Ground. Apply a single material per named group. A visually convincing single-mesh shell is a failed result.
STEP 4 — Materials. Match the materials visible in the photograph as closely as you can identify them — set base colour, roughness and a plausible bump or normal for each. No procedural noise standing in for real material character.
STEP 5 — Scene. Ground plane with a paved forecourt with low planting beds and two street trees. Lighting: clear morning light with the sun 35 degrees above the horizon from camera left, using a sun lamp with a physically plausible angle plus a sky HDRI for fill. Camera: 24mm three-quarter view from street level, at human eye height of 1.6m, with the vertical lines of the building kept vertical — apply a two-point perspective correction rather than tilting the camera up.
STEP 6 — Output. Save the .blend file, export a GLB, and render one hero frame at the highest resolution Blender is set to.
COMPLETION CRITERIA — do not stop at the first render. Render the frame, look at it, and compare it against the uploaded photo. Check: storey count matches, window grid matches, roof form matches, no interpenetrating geometry, no floating elements, vertical lines vertical. Where the render diverges from the reference, revise your script and re-render. Repeat until all six checks pass, then report which checks you verified and list every named object you created.
Negative prompt:
single merged mesh, unnamed objects, redesigned building, invented ornament, distorted proportions, tilted verticals, floating geometry, interpenetrating walls, watermark, text overlay, low quality
# Customize Variables
Share:
# Tags
chatgpt astraastra 3d modelastra blenderbuilding photo to 3d modelai architecture renderingarchitectural renderingchatgpt architecture rendering promptphoto to 3d
# Related Prompts
# Related Articles
ChatGPT Astra Architecture Prompts — Photo to Editable 3D Model
Which of these five produce an editable 3D model and which produce an image, the full prompts, and the checks that make Astra iterate.
ChatGPT Image Prompts for 4K Quality
Master high-resolution AI image generation with proven prompt techniques.
Stunning AI Art with DALL-E & Midjourney
Complete guide to crafting prompts for breathtaking AI artwork.
Ultimate Guide to Prompt Engineering
Learn the principles behind crafting effective prompts for any AI tool.
newsletter.sh
# Weekly Best Prompts — Delivered Free
Get the 5 best ChatGPT prompts of the week, curated and ready to copy. No spam, unsubscribe any time.
$ No spam · Unsubscribe any time · Free forever