
What Nano Banana actually does well
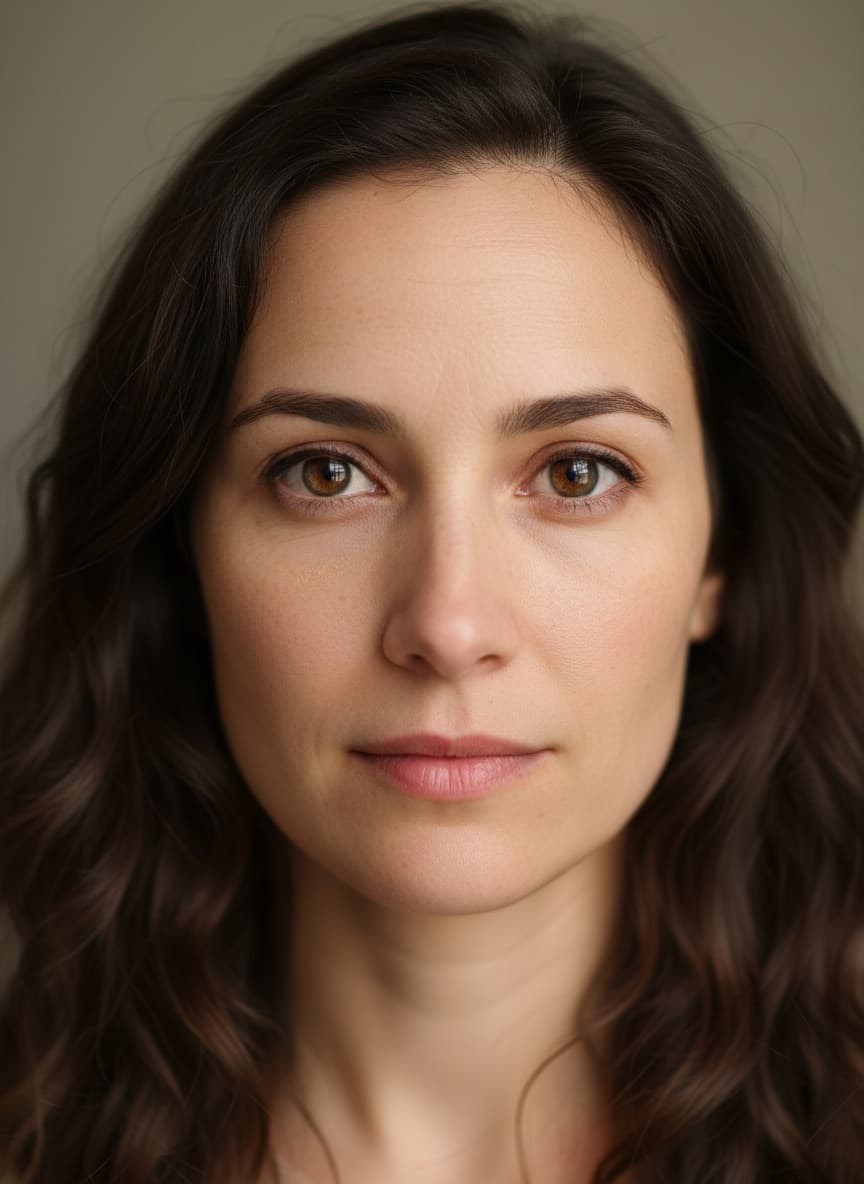
"Nano Banana" is the nickname that stuck to Google's Gemini image model, and it is the reason Gemini photo edits took over social feeds. The technical difference that matters to you is identity preservation: it holds a real person's face across an edit far better than the alternatives. That is what makes outfit swaps, background changes and retro restyles usable on photos of yourself rather than producing a plausible stranger.
Two other things it does that are worth knowing before you start:
- Conversational editing. After a result, you can just say "now make the jacket black" and it edits that image rather than starting from scratch. Most people's best results come from three small follow-ups, not one enormous prompt.
- Text rendering. It can put legible words on a sign, poster or shirt — genuinely useful, and something most image models still fumble.
Where it is weaker than ChatGPT: very long, multi-clause written instructions. If your edit needs six things to happen at once, ChatGPT follows the list more faithfully. Gemini prefers you break it up.
The 4-part prompt structure
Nearly every failed Gemini photo edit comes from a prompt that only did step 1. The structure that works:
| Part | What it does | Example |
|---|---|---|
| 1. The change | The single edit you want | "Replace the background with a marble temple courtyard" |
| 2. The preservation clause | What must not change | "Keep the face, skin tone, hairstyle and outfit exactly as in the original" |
| 3. The look | Lighting, mood, style | "Warm late-afternoon light from the left, soft shadows" |
| 4. The quality target | Output standard | "Sharp natural skin texture, no smoothing, 4K quality" |
Part 2 is the one everyone skips, and it is the one that matters. Gemini reads your prompt as a description of the finished image — anything you don't mention is free to be regenerated. Say what stays.
15 copy-paste Gemini photo editing prompts
Upload your photo first, then paste the prompt in the same message. Swap anything in brackets for your own details.
1. Portrait enhancement (the default one to start with)
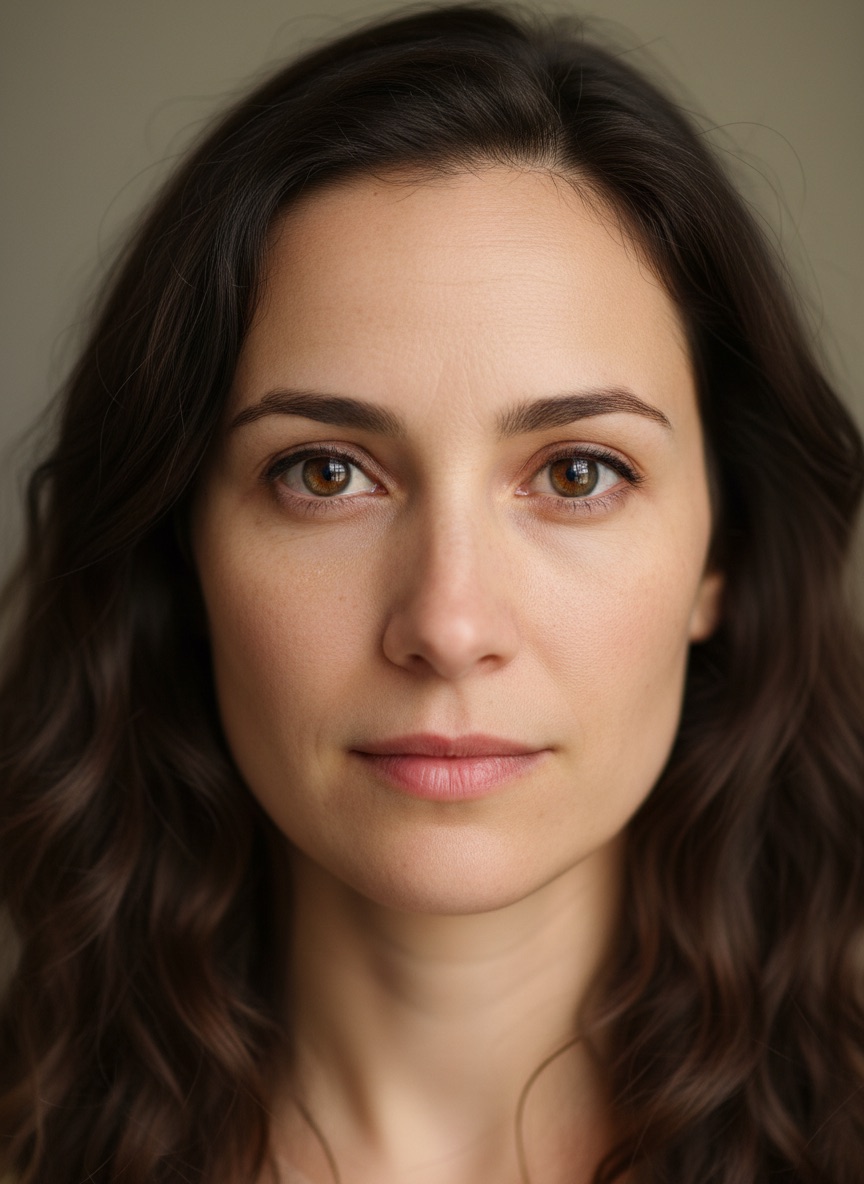
Enhance this portrait photo. Keep the person's face, facial features, skin tone, hairstyle, expression and clothing exactly as they are — do not change their appearance. Improve lighting so the face is evenly lit, sharpen the eyes and hair, remove noise and compression artifacts, and correct the colour balance to look natural. Keep natural skin texture with visible pores — no smoothing or airbrushing. Output at 4K quality, photorealistic.
2. Background change — studio
Edit this photo: replace the background with a clean neutral grey studio backdrop with a soft gradient. Keep the person exactly as they are — same face, pose, hairstyle, clothing and body proportions. Match the edge lighting on the hair and shoulders to the new backdrop so the cutout looks natural, not pasted. Soft studio key light from the front-left. Sharp, 4K quality.
3. Background change — outdoor location
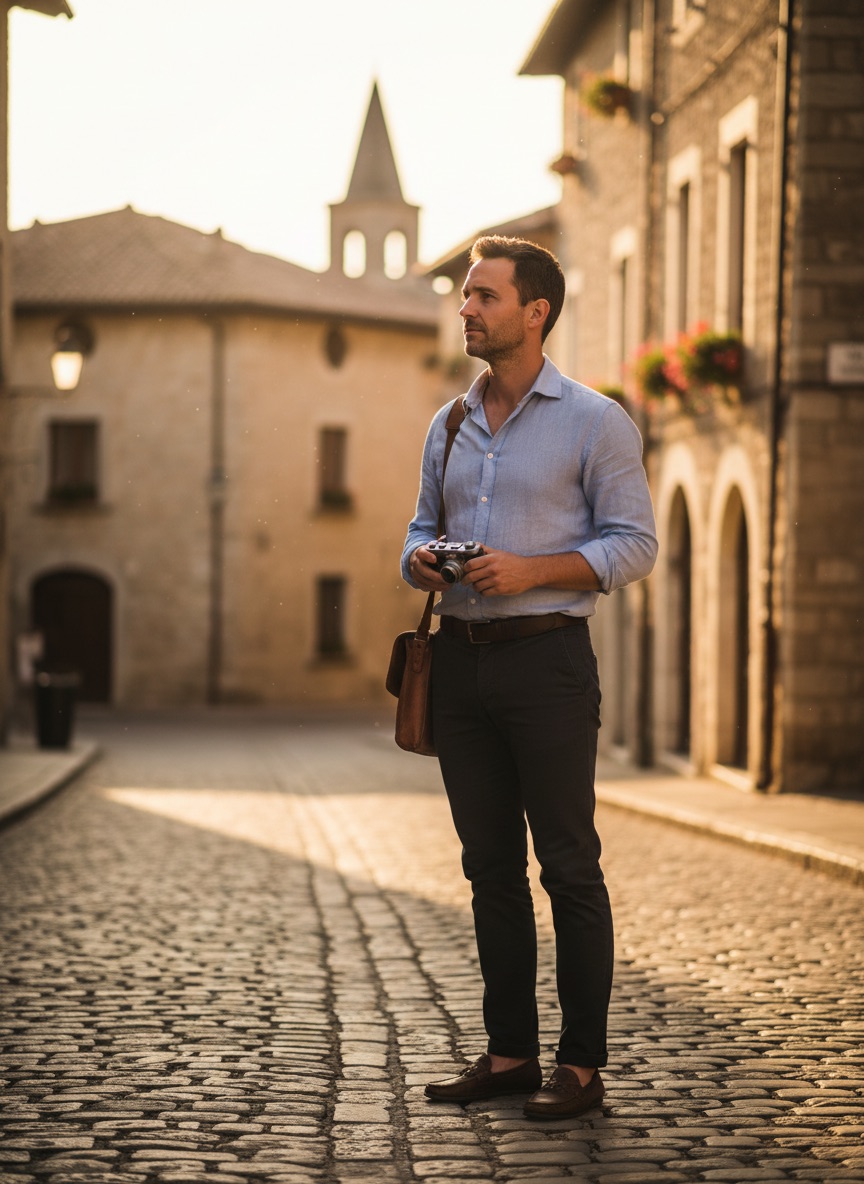
Edit this photo: replace the background with [A SUNLIT COBBLESTONE STREET IN AN OLD EUROPEAN TOWN]. Keep the person unchanged — face, pose, hairstyle, outfit and proportions exactly as in the original. Relight the subject to match the new scene: [WARM LATE-AFTERNOON SUN COMING FROM THE RIGHT], with matching shadow direction and colour temperature. Shallow depth of field, background softly blurred. Photorealistic, 4K.
4. Professional headshot conversion
Turn this photo into a professional corporate headshot. Keep the person's face, features and hairstyle exactly as they are. Replace their clothing with [A WELL-FITTED NAVY BLAZER OVER A WHITE SHIRT]. Background: soft neutral grey, slightly blurred. Lighting: even, flattering studio light with a soft catchlight in the eyes. Natural skin texture, no smoothing. Sharp, LinkedIn-ready, 4K quality.

5. Outfit swap
Edit this photo: change the outfit to [A CREAM LINEN SHIRT AND BEIGE TROUSERS]. Keep the person's face, hairstyle, skin tone, pose, body proportions and the background exactly as they are. The new clothing should fit the body naturally with realistic fabric folds and drape, and match the existing lighting direction and shadows. Photorealistic, 4K quality.
6. Retro film look
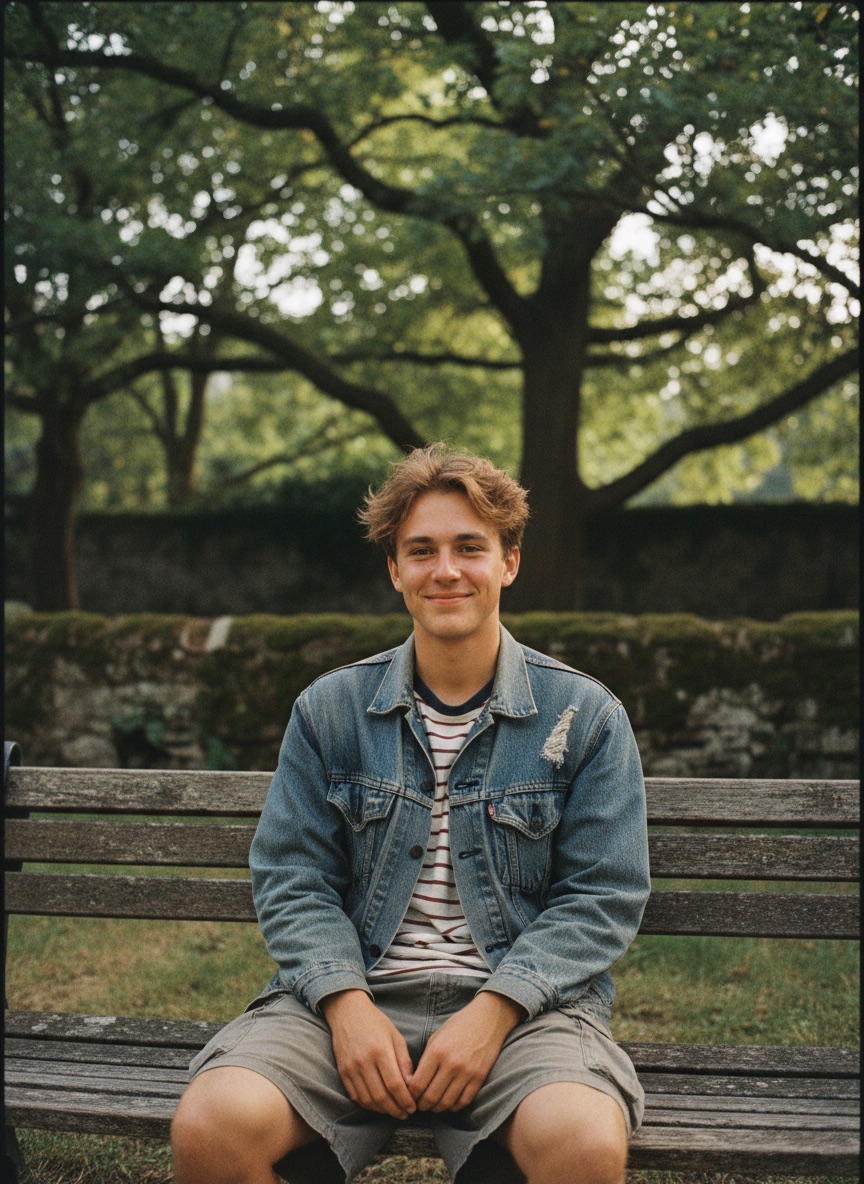
Restyle this photo as a [1990s] film photograph. Keep the person's face, features and pose exactly as they are. Apply the colour science of [KODAK PORTRA 400]: warm skin tones, slightly muted greens, gentle highlight rolloff. Add fine natural film grain and very slight softness at the frame edges. Do not add fake light leaks or heavy vignetting. Realistic film photograph, not a filter.
7. Cinematic colour grade
Apply a cinematic colour grade to this photo. Keep everything in the frame exactly as it is — same face, subject, composition and background. Grade it with [TEAL SHADOWS AND WARM AMBER HIGHLIGHTS], deepened contrast, and a slight letterbox crop feel. Preserve detail in both the shadows and the highlights. Filmic, high dynamic range, 4K quality.
8. Old photo restoration
Restore this old photograph. Repair scratches, creases, tears, dust and fading. Correct the colour cast and rebuild faded detail in the faces and clothing. Keep every person's face, features and expression exactly as they are — do not beautify, reshape or modernise anyone. Keep the original composition and the period-accurate look of the clothing and setting. Sharp, natural, 4K quality.
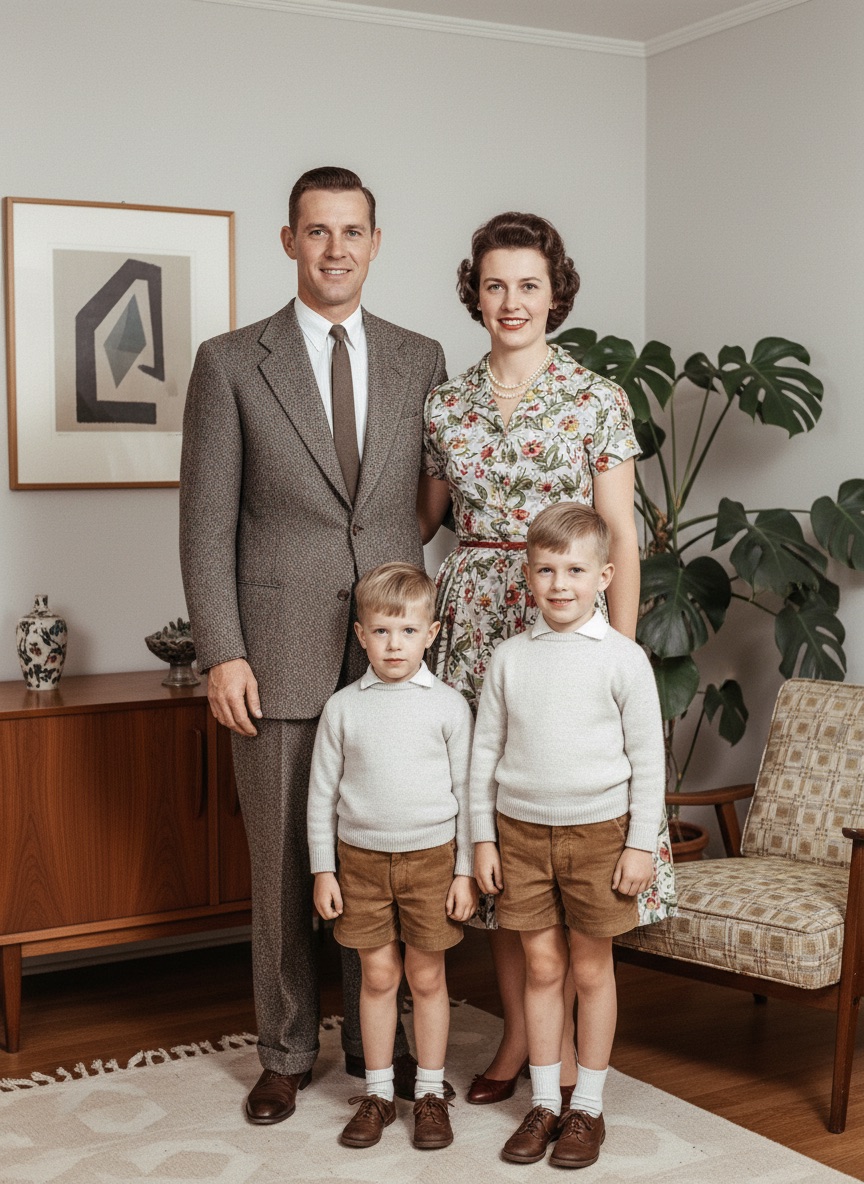
9. Black and white to colour
Colourise this black and white photograph. Keep every face, feature, expression and detail of the composition exactly as it is. Use realistic, period-accurate colours: natural skin tones, believable fabric colours for the era, and accurate colours for the setting. Avoid oversaturation — this should look like a colour photograph from the time, not a modern digital image. Sharp, 4K quality.
10. Blurry photo fix
Sharpen and repair this blurry photo. Keep the subject's face, features, pose and the composition exactly as they are — reconstruct detail, do not invent a different person. Remove motion blur and focus softness, recover fine detail in the eyes, hair and fabric texture, and reduce noise while keeping natural grain. Do not over-sharpen into halos or crunchy edges. Photorealistic, 4K quality.
11. Add or change lighting
Relight this photo with [SOFT GOLDEN HOUR SUNLIGHT COMING FROM THE LEFT]. Keep the person, their face, outfit, pose and the background exactly as they are — change only the lighting. Add a warm rim light along the hair and shoulder on the lit side, soften the shadows on the opposite side, and warm the overall colour temperature slightly. Realistic light behaviour, no glow effects. 4K quality.
12. Group photo cleanup
Clean up this group photo. Keep every person's face, expression, pose and clothing exactly as they are — do not alter anyone's appearance. Even out the lighting across all faces so nobody is in shadow, remove distracting background clutter, correct the colour balance, and sharpen the whole frame. Natural skin texture on everyone. Sharp, 4K quality.
13. Product photo on white
Edit this product photo: place the product on a clean pure white background with a soft natural shadow beneath it. Keep the product itself exactly as it is — same shape, colour, labels, text and surface texture, with no changes to the design. Even, soft studio lighting with a subtle highlight along the top edge. Razor-sharp product edges, accurate colour, e-commerce ready, 4K quality.
14. Add legible text to an image
Edit this image: add the text "[YOUR TEXT HERE]" in [A CLEAN BOLD SANS-SERIF] onto [THE SIGN ON THE WALL]. The text must be spelled exactly as written and fully legible. Match the perspective, curvature, lighting and shadow of the surface it sits on so it looks physically printed there, not overlaid. Keep everything else in the photo unchanged. Sharp, 4K quality.
15. Style transfer to illustration
Restyle this photo as [A SOFT WATERCOLOUR ILLUSTRATION]. Keep the person recognisable — same face shape, features, hairstyle, expression and pose — so they are clearly still the same person. Keep the composition identical. Apply [visible brush texture, soft colour bleeds, and a light paper grain]. Do not add or remove anything from the scene. High detail, clean finish.
Fixing the three failures everyone hits
The face changed into someone else. Your prompt had no preservation clause. Add: "Keep the face, facial features, skin tone, hairstyle and body proportions exactly as they are in the original photo." If it still drifts, you are asking for too much at once — do one change per prompt and chain them.
It ignored part of the prompt. Gemini handles two or three instructions well and starts dropping things past four. Split it: change the background first, accept the result, then say "now change the shirt to black." Conversational editing is the intended workflow, not a workaround.
The result looks plastic. Add "keep natural skin texture with visible pores, no smoothing or airbrushing" and remove any word like "flawless", "perfect" or "beautiful" from your prompt — those pull hard toward the over-retouched look.
Gemini vs ChatGPT for photo editing
| Gemini (Nano Banana) | ChatGPT | |
|---|---|---|
| Face preservation | Strongest | Good, drifts more on multiple edits |
| Conversational follow-up edits | Yes, edits the previous result | Yes, less consistent |
| Long multi-part instructions | Drops items past 3-4 | Follows longer lists faithfully |
| Text inside the image | Reliably legible | Improving, still error-prone |
| True pixel upscaling | No | No — pair either with a real upscaler |
| Free access | Yes, daily limit | Limited on free tier |
The honest split: use Gemini when the photo contains a real person whose face has to survive the edit. Use ChatGPT when the instruction is long and detailed and there's no identity to protect. For the ChatGPT side, the tested equivalents are in ChatGPT 4K Photo Enhancement Prompts.
Neither increases the pixel count of your file. If you need a genuinely larger image for print, run the result through a dedicated upscaler afterwards — see ChatGPT Upscale Image Prompt Guide.
Related guides
- Gemini Photo Editing Prompts to Copy and Paste — the paste-ready block list, nothing else
- Gemini Couple Photo Editing Prompts — two-person edits where both faces have to hold
- Nano Banana Prompts for Men — grooming, outfit and headshot edits
- Diwali and Navratri AI Photo Editing Prompts — festival portraits and backdrops
- Nano Banana Prompts: Complete Gemini Image Guide — character consistency and generation, not editing
- Nano Banana vs ChatGPT: Which Should You Use? — the head-to-head comparison
- Browse all image prompt templates — 140+ ready-to-use prompts by category